
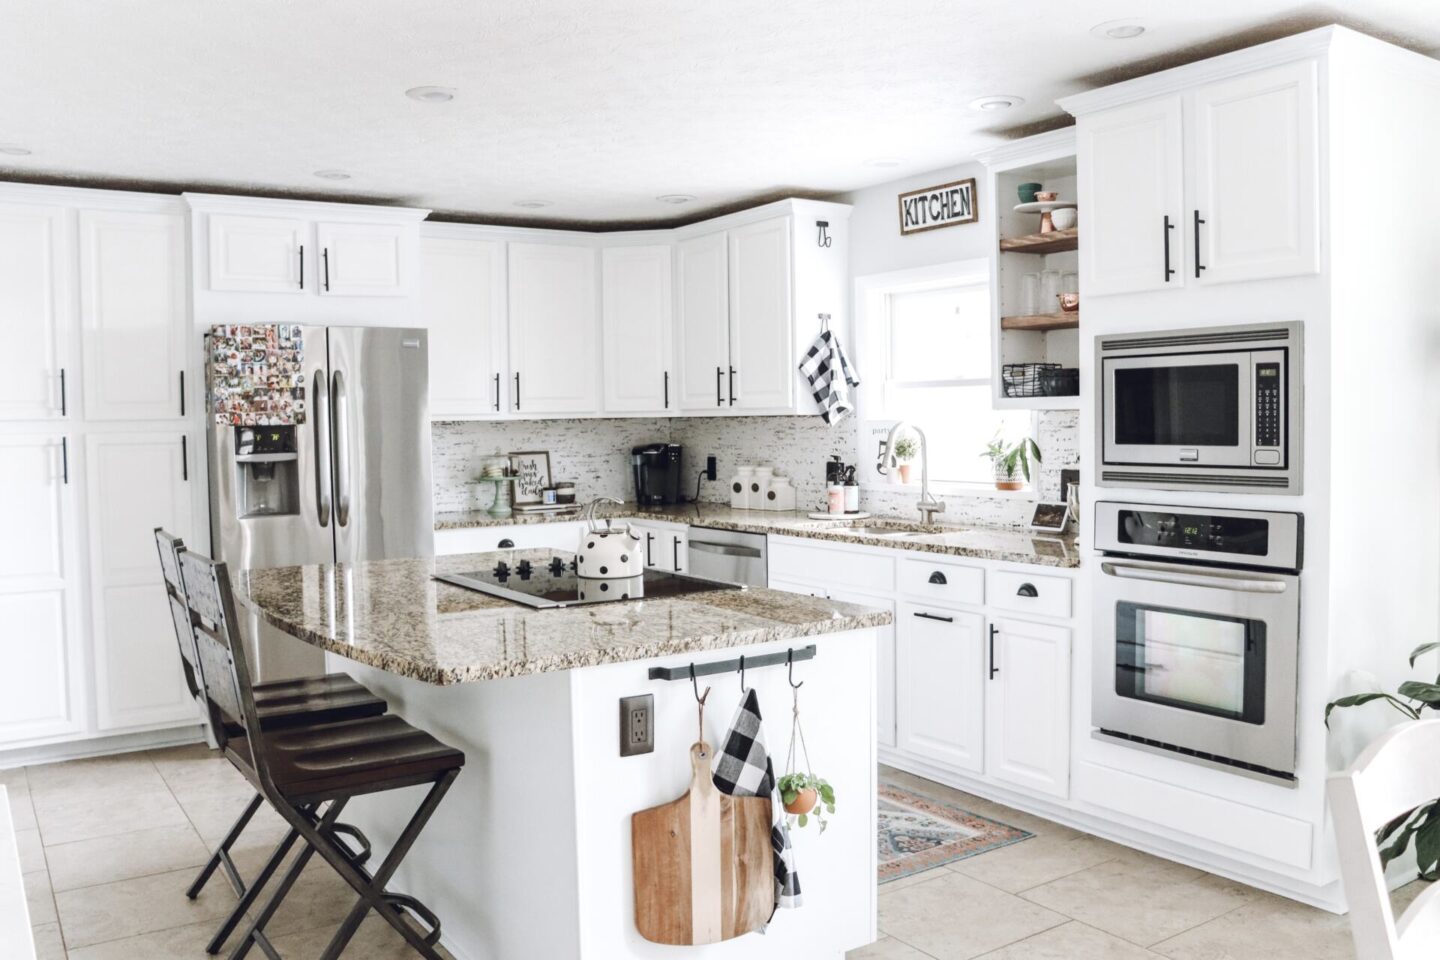
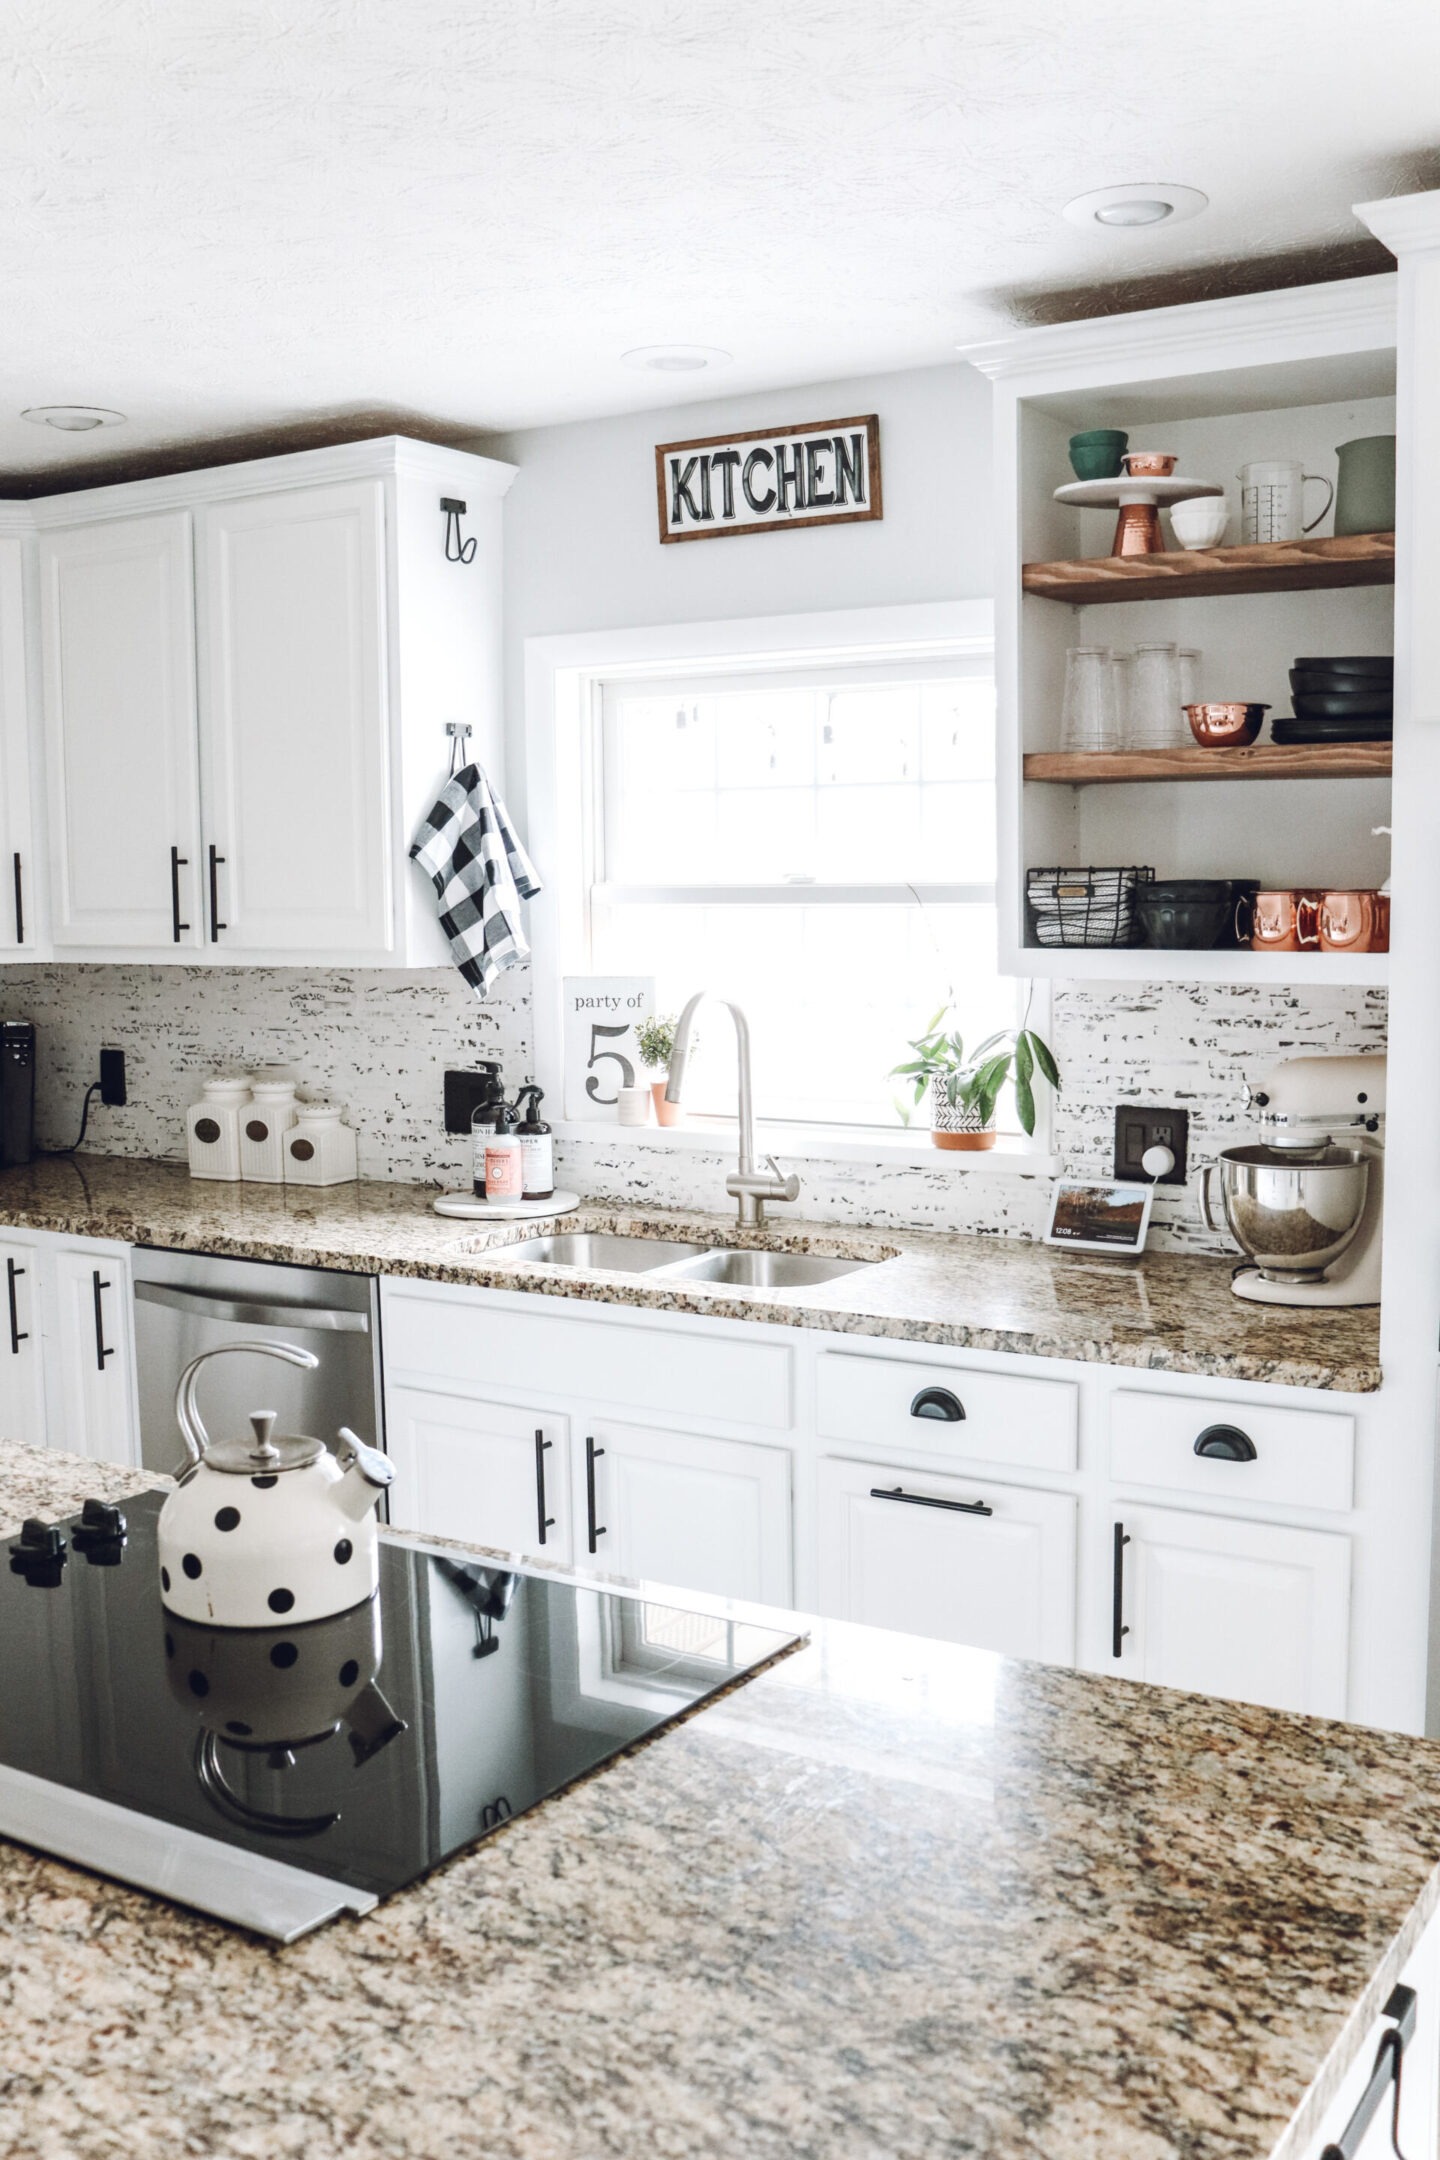
I am so excited to share this budget friendly kitchen backsplash and shelf project. In case you missed it, we painted our kitchen white last year, you can check that post out here. I love how much brighter it made my kitchen but I still didn’t love our counter or backsplash. But, obviously replacing either of those would be a huge renovation and expensive. So, I had a vision of doing a German smear on it to create a brick looking backsplash. German smear is when you coat a surface with spackle or wet mortar. It gives it a whitewashing, cottage look. I am obsessed with the character it gave my kitchen. I also wanted to update our white open shelves to wood.
How we did the backsplash
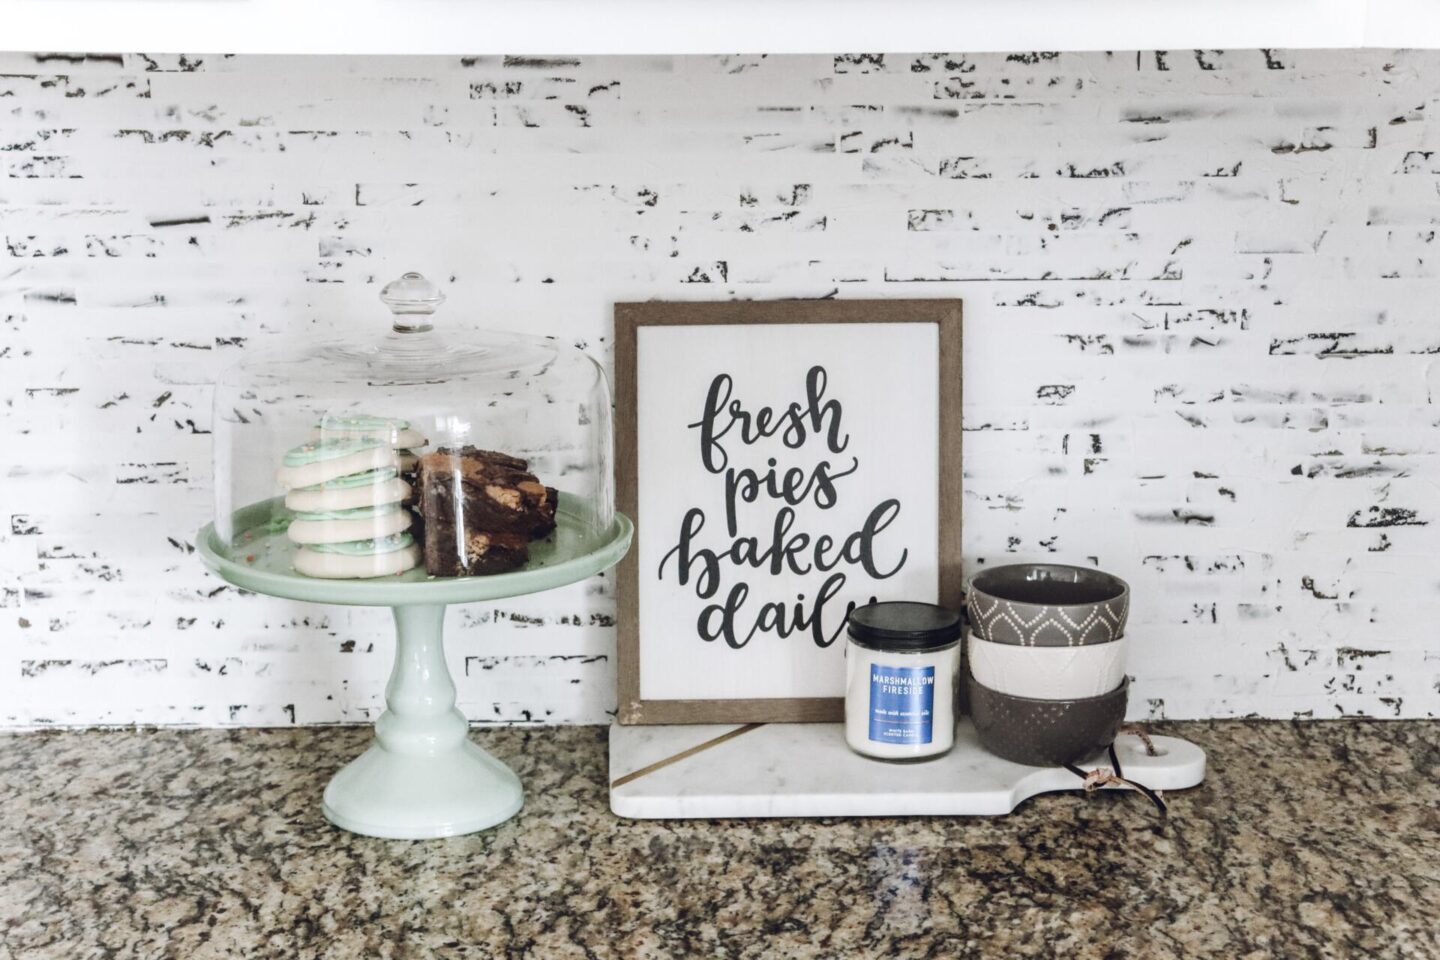
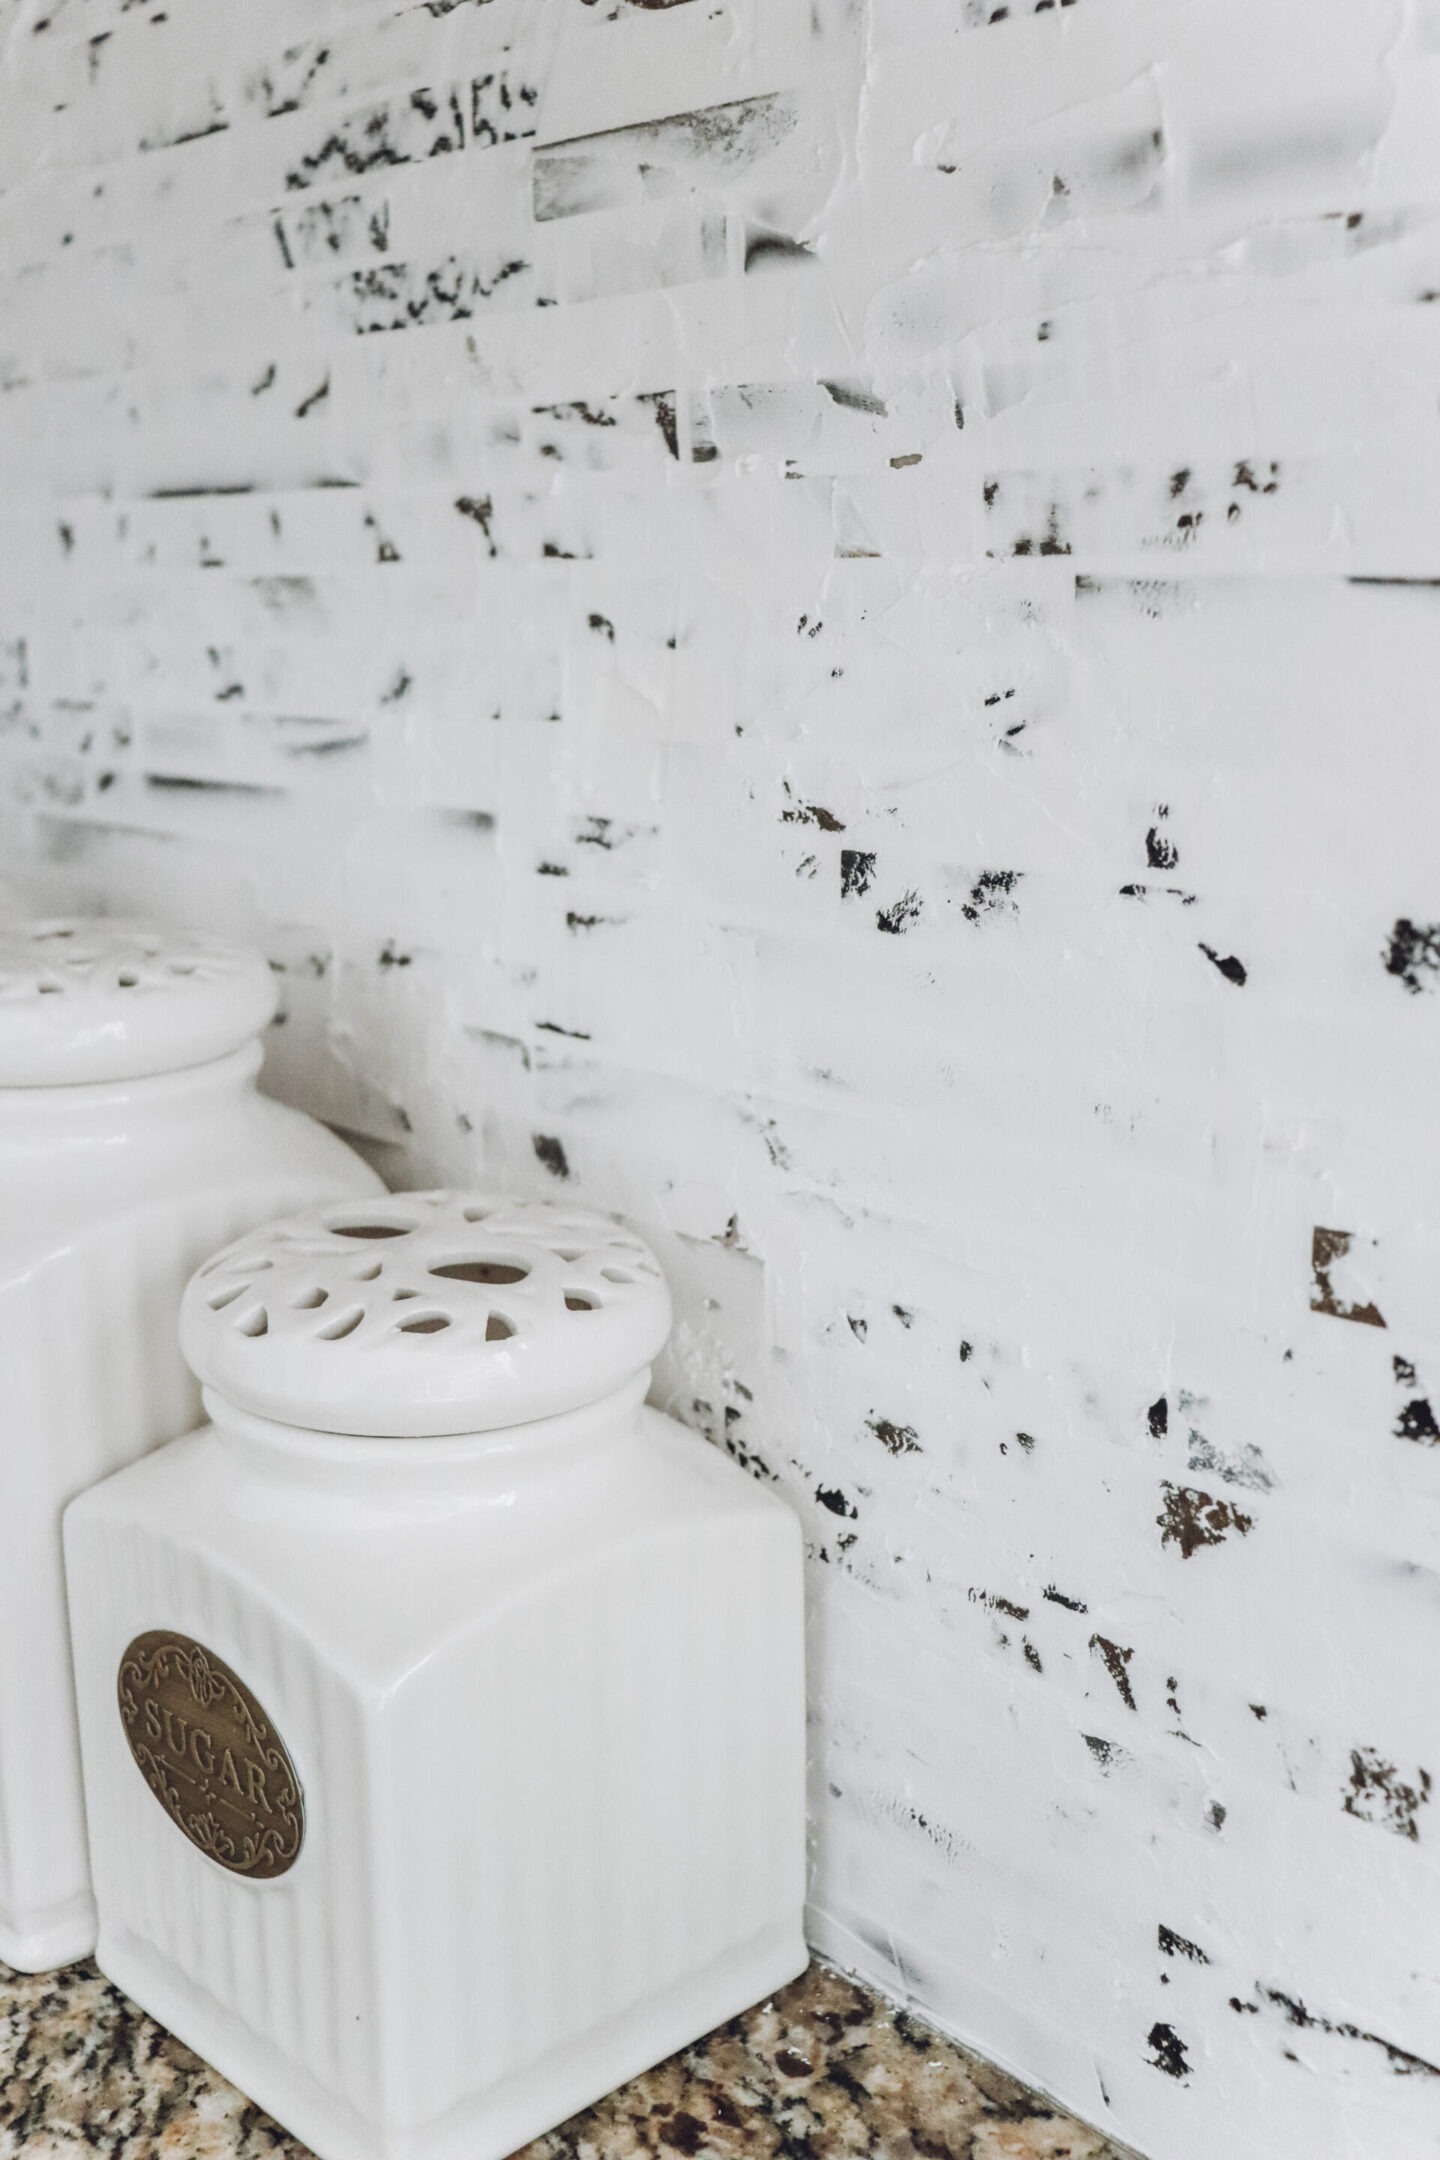
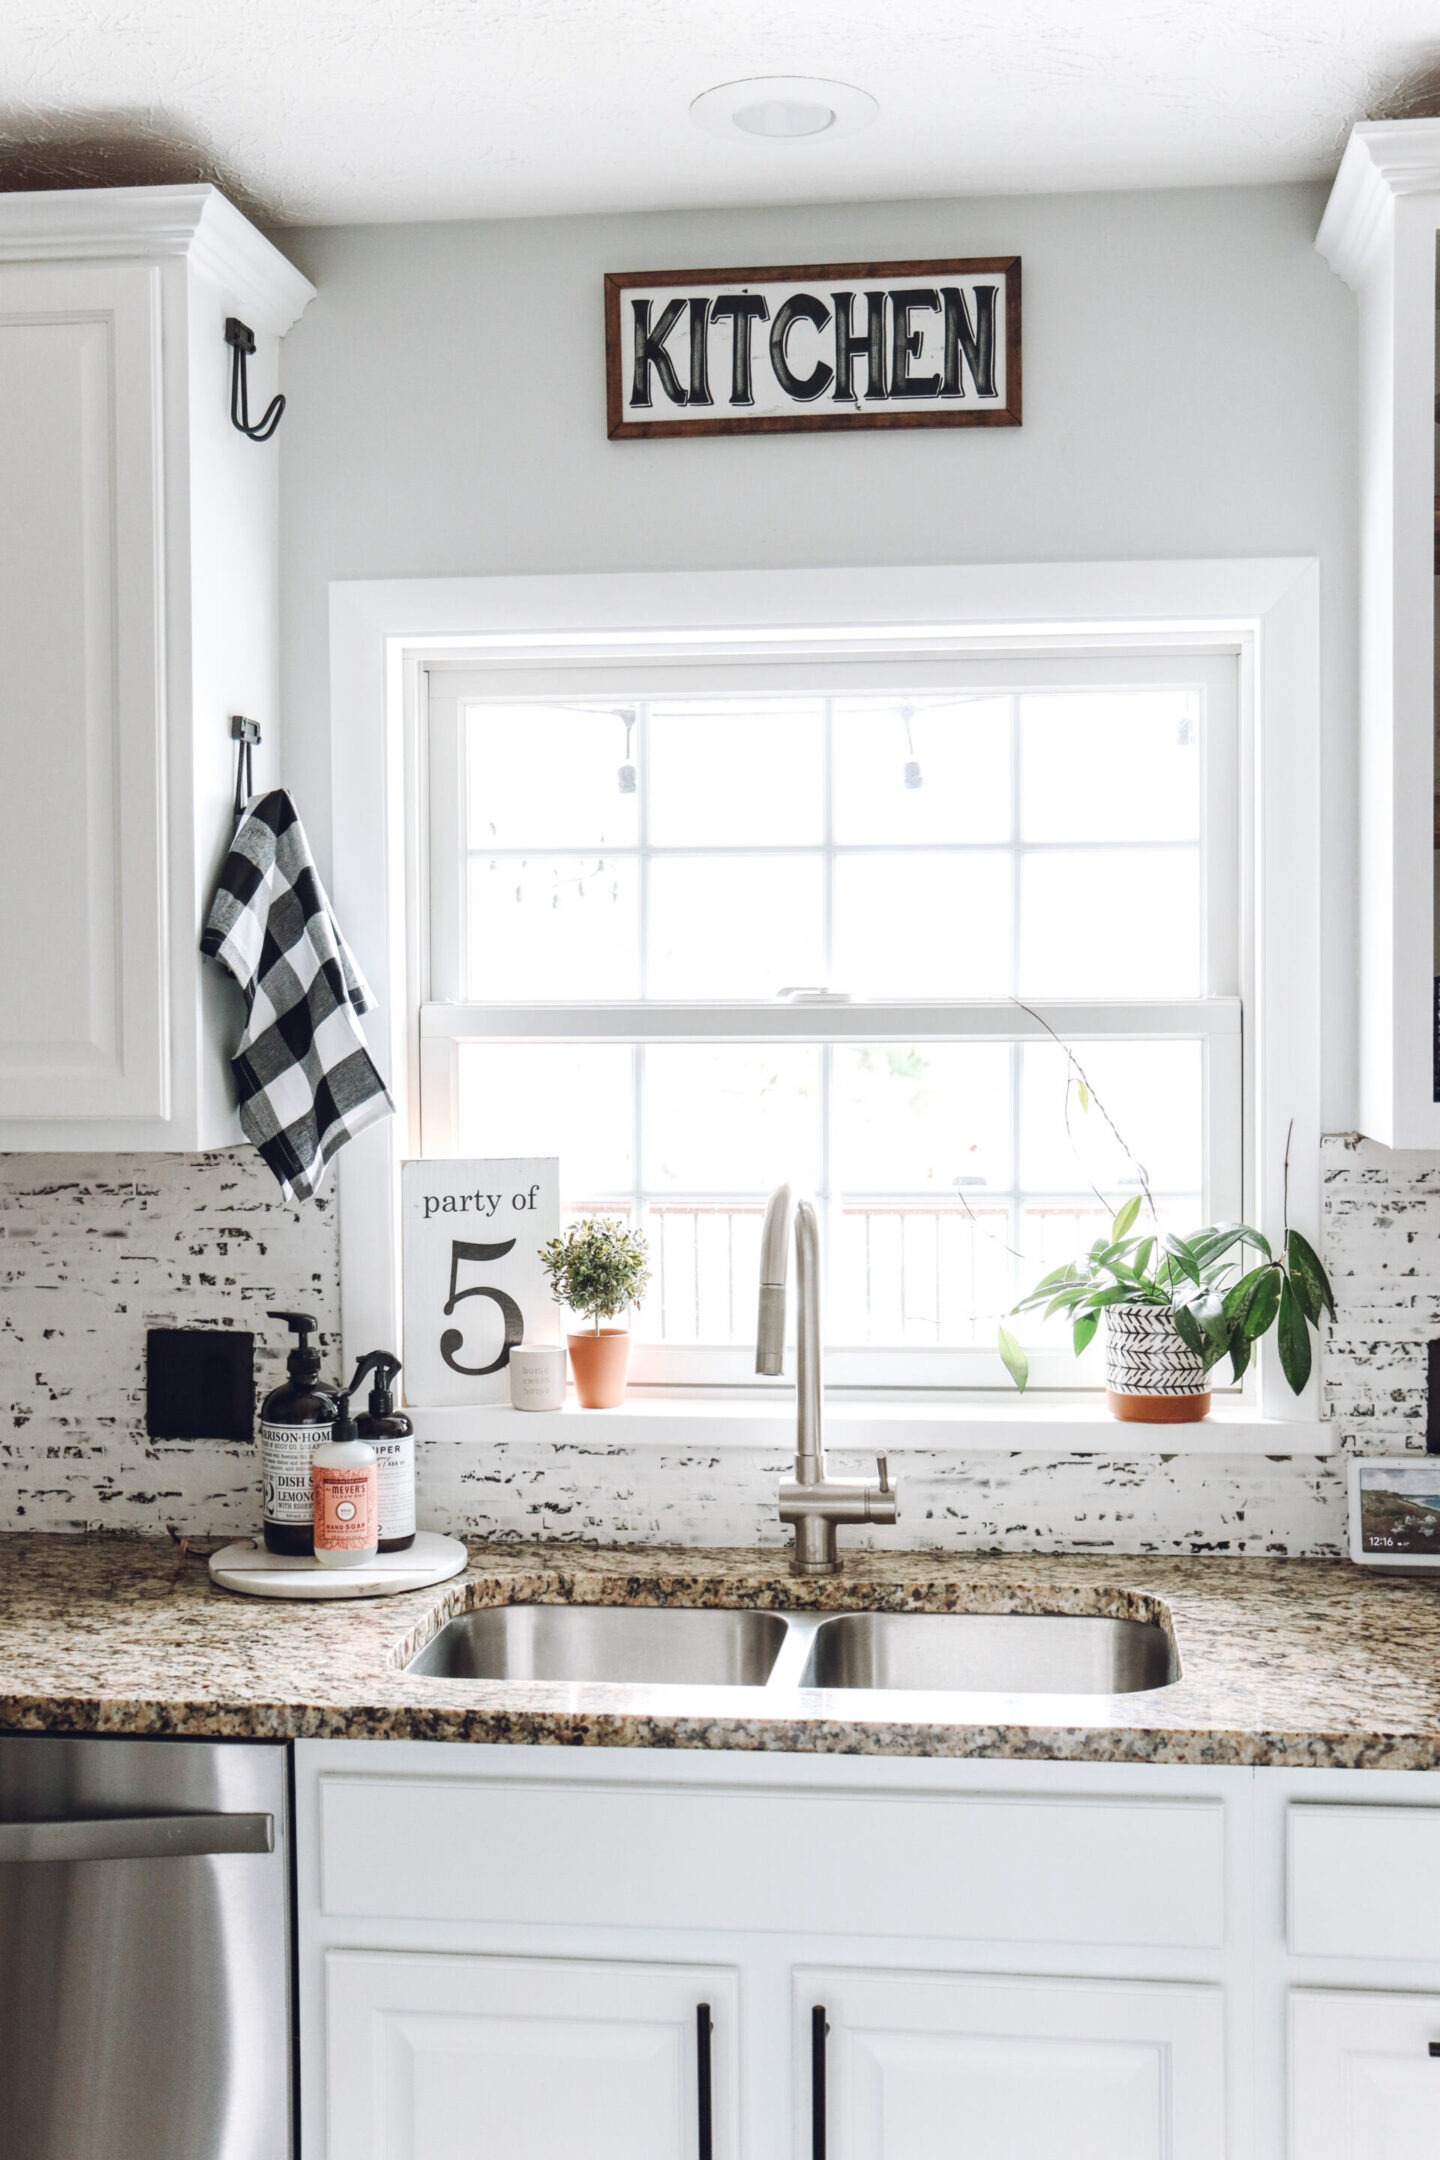
Would you believe me if I said this project cost less than $10 and under three hours!? Almost seems to good to be true right!? You can get the exact spackle we used here for $7. Essentially, we just ran the spackle over the backsplash to add a whitewash textured look. We have not sealed the backsplash yet but we definitely need to, in its current state getting it wet is not ideal. I will keep you posted on how we end up sealing it.
Tips & Tricks
Spackling is almost fool proof. I applied it thin and from every which direction to add texture. Originally, I was considering painting the backsplash but I decided to do a German smear to add texture and character to the space. I wanted it to look more like brick and I’m so happy with how it turned out. When you’re thinking of a project in your home, take risks and try something new. I’m so glad I stopped outside the box on this one and trusted my gut. My husband thought I was nuts but he loves it too.
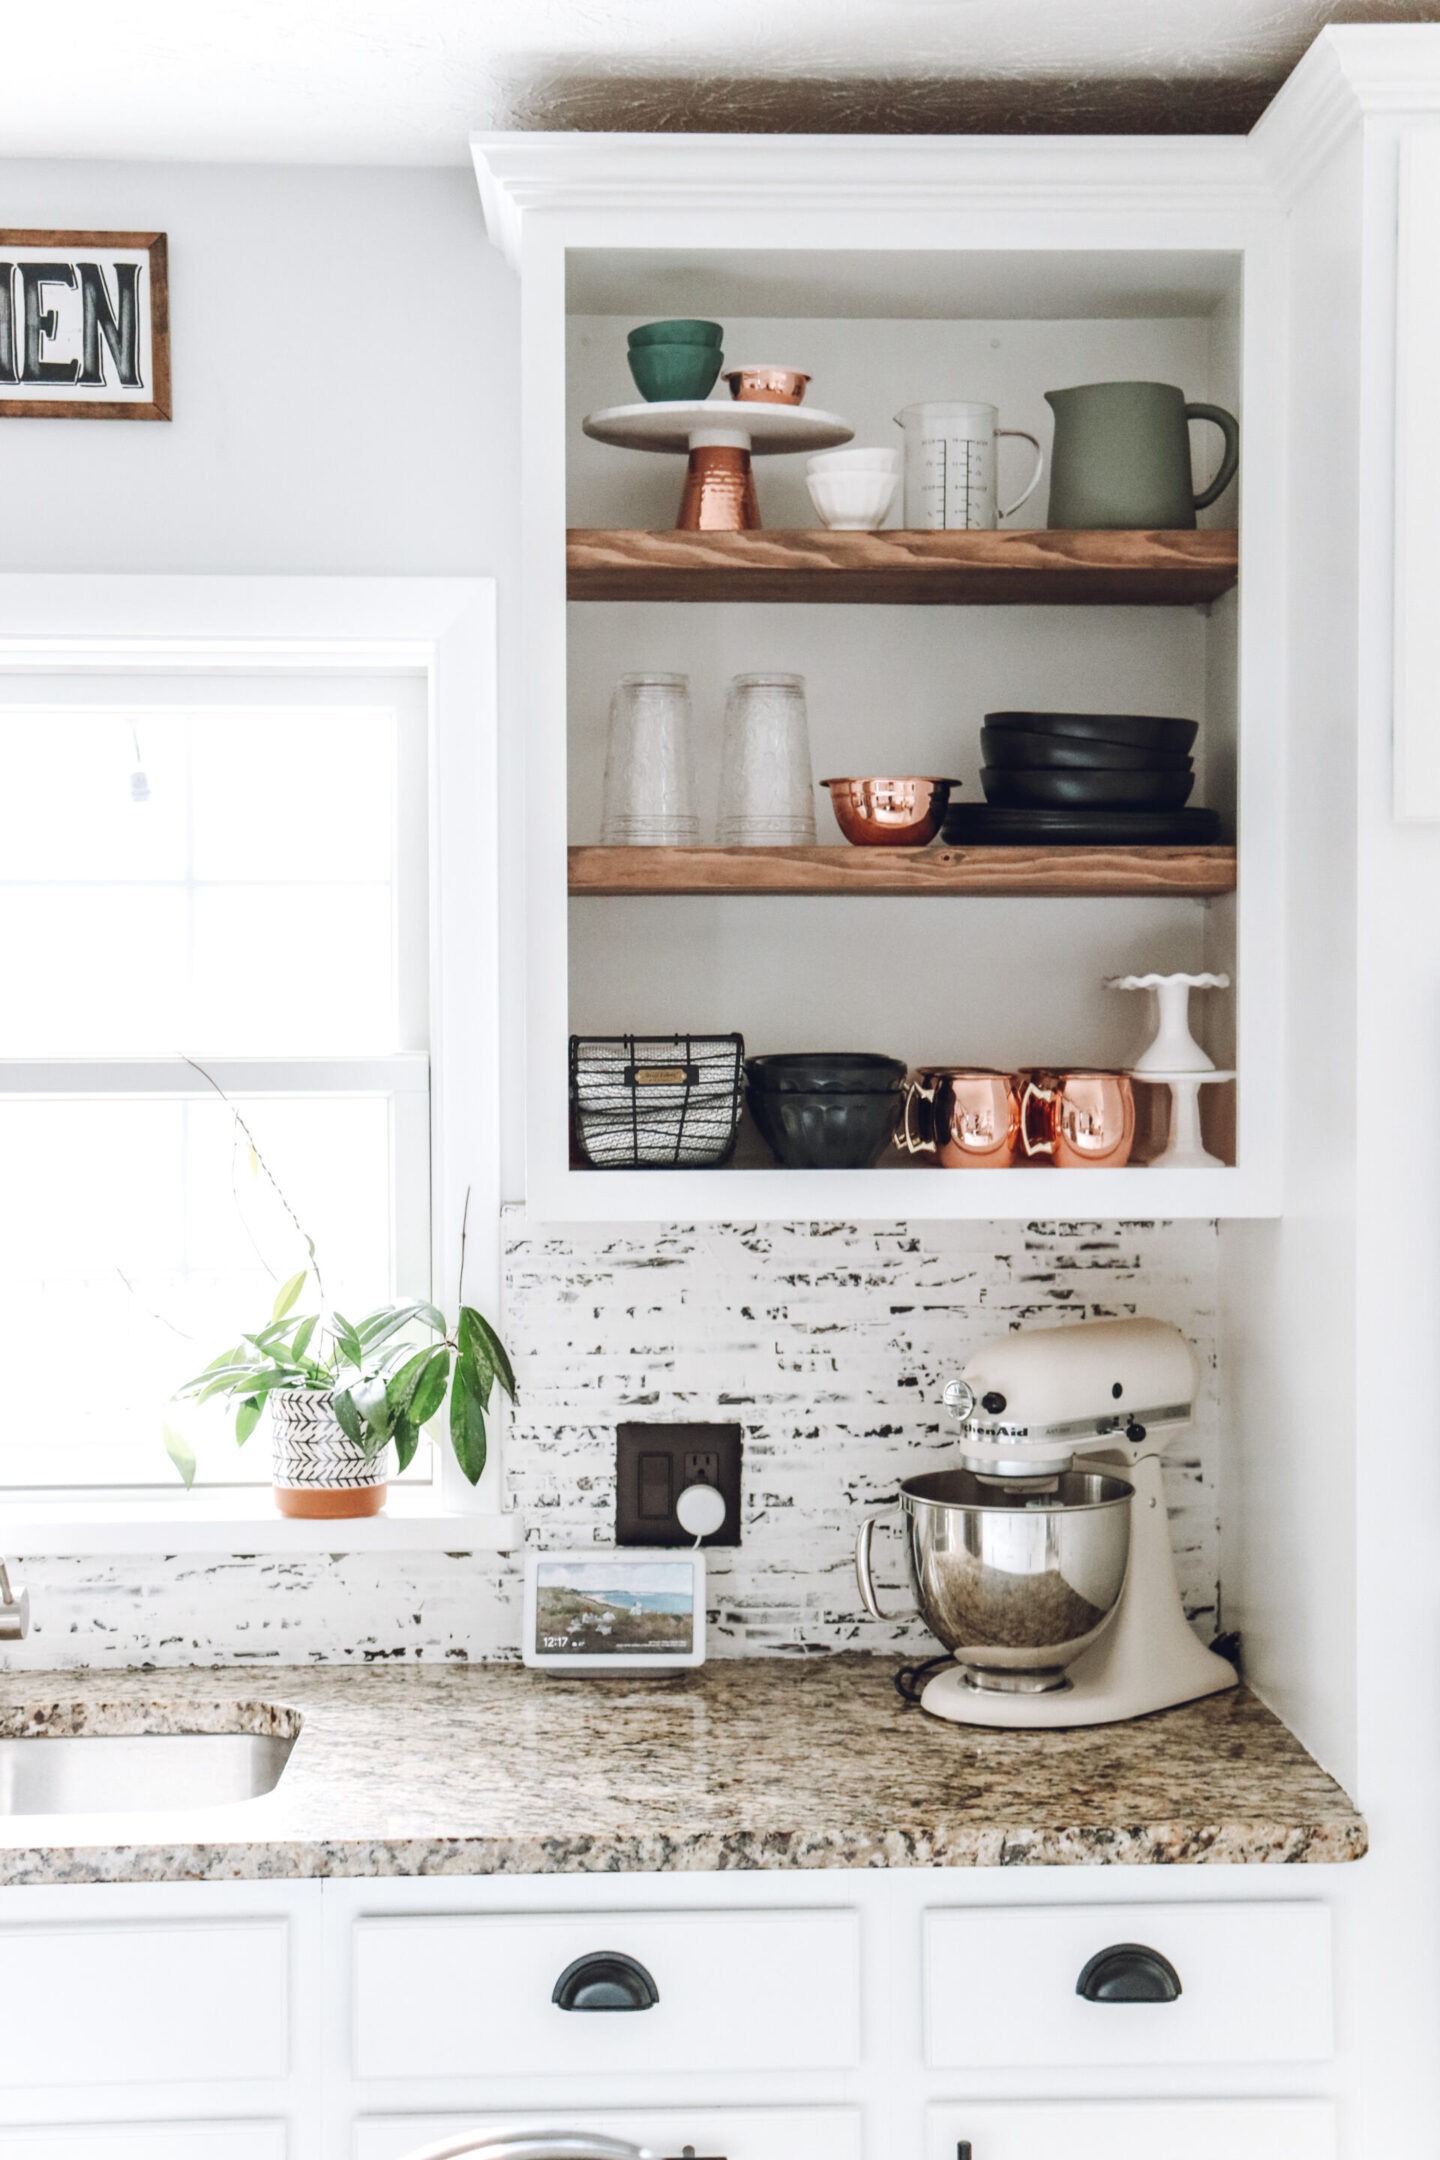

Wood Shelf
While doing this project we also updated this shelves in our open shelving. When we painted our kitchen we left one of our cabinets open. I knew I wanted to replace the white shelves eventually, and we followed The Blooming Nests tips for these. It was seriously SO SIMPLE. We used 2×12’s that we trimmed down and stained. As suggested by The Blooming Nest we used the stain Behr Cordovan. I think the thick wood shelves make them look much more intentional and less like we just took cabinet doors off. If you’re looking for an easy way to update your kitchen, I suggest adding some open shelving.
Links to shop
These are both budget friendly, quick and easy updates anyone can do to their home. I am all about creating spaces I love throughout my home and incorporating different styles. I hope this kitchen project inspires you to update a space in your home.

Hello very nice blog!! Guy .. Beautiful .. Amazing ..
I’ll bookmark your site and take the feeds also? I’m glad
to find a lot of helpful info here in the publish, we need
work out extra strategies in this regard, thanks for sharing.
. . . . .
What did you use to seal the backsplash spackle?
Author
We haven’t sealed it yet. So far it has held up really well. It is a very forgiving look, so even slight water splashes don’t mess with the overall look.
Hello there, is there a tutorial on how you did the German smear?